

When corporate security failures occur, it is rarely because the solutions are too expensive. It is usually because organizations fail to adopt the basic, simple workflows that protect their developers—like proper SSH key management.
It certainly can’t be due to complexity. Take 1Password, for instance: integrating its built-in SSH agent is incredibly simple. Here is how you can set it up in less than two minutes.
2-Step 1Password SSH Agent Setup#
Step 1: Append to Your SSH Config#
Add the following configuration lines to your local SSH config file (~/.ssh/config). This instructs your system to query 1Password’s SSH agent socket for all host connections:
# Append SSH agent routing to config
cat <<EOL >> ~/.ssh/config

Host *
  IdentityAgent ~/.1password/agent.sock
EOL
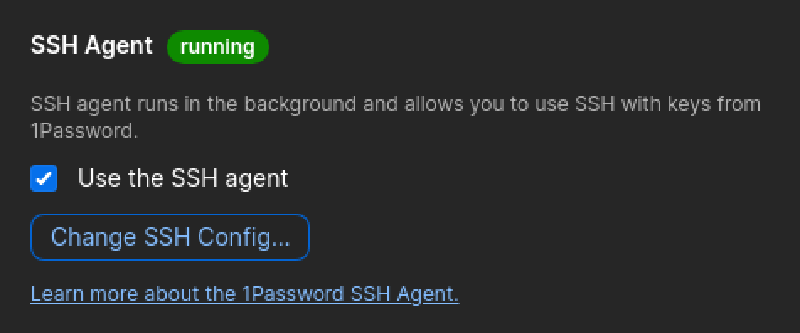
Step 2: Enable the SSH Agent in 1Password#
Open 1Password, navigate to Settings, select the Developer tab, and toggle the Use the SSH agent option:
Responsibility vs. Convenience#
It isn’t a budget constraint; it is a question of responsibility. Too many teams choose the convenience of sharing plain-text passwords or copying unencrypted private keys across machines.
If your team is looking to step up their game, check out 1Password’s business options. (And yes, that link contains a convenience tracker, but I’m putting it here because I don’t trust you to search for the right link yourself!)
What’s your key management setup?#
Does your company enforce secure SSH agent policies, or are raw keys still lying around in ~/.ssh? Share your thoughts in the comments!