
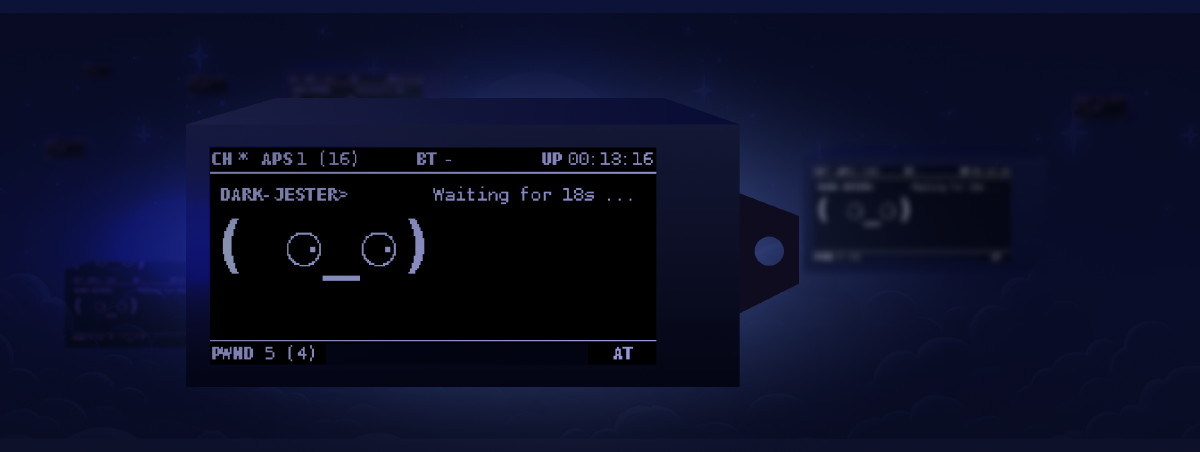
If you have ever wanted a Tamagotchi-like digital pet that feeds on WPA handshakes instead of virtual snacks, you need a Pwnagotchi. After losing my first one on a bus somewhere, I decided it was time to build a replacement.
Sniff, sniff! (♥‿‿♥) So many networks!!!
What is a Pwnagotchi?#
Four years ago, I fell down the security rabbit hole, developing an interest in physical, network, and wireless security. Overwhelmed by the massive volume of theoretical guides out there, I struggled to keep myself engaged.
I’m not doing this for financial gain; I just want to satisfy a curious mind. The typical, mindless path is always:
- Buy a generic course on a global learning platform.
- Cram for a certificate.
- Post the certificate on LinkedIn and wait for profit.
Fuck that! I want raw, hands-on answers. Asking questions is my doom and downfall… 🤬
The Hardware Stack#
There is no single rule for Pwnagotchi builds, and you can compile it on various hardware form factors. Here is the exact stack I chose for my second build:
| Part | Details |
|---|---|
| Raspberry Pi Zero 2 W | I chose the pre-soldered header version because I wanted to skip manual soldering. |
| Waveshare v4 2.13" E-Paper HAT | Sleek e-ink screen that acts as Pwnagotchi’s face. |
| PiSugar 3 Battery Pack | A compact, rechargeable power management HAT for portable runs. |
Flashing the Operating System#
Today, Pwnagotchi development has split into two prominent releases:
- evilsocket/pwnagotchi (The original, classic project)
- jayofelony/pwnagotchi (A highly active, modernized 64-bit fork)
I decided to try the jayofelony fork to see how it handles without the neural network running, and to compare the user experience. (Spoiler: evilsocket’s original feels a bit more like a living pet, but jayofelony’s updates are incredibly robust).
Follow these six steps to flash the firmware onto your SD card:
1. Download the Image#
Navigate to your downloads directory and download the jayofelony release image (we are using v2.9.4 in this example):
cd ~/Downloads
wget https://github.com/jayofelony/pwnagotchi/releases/download/v2.9.4/pwnagotchi-64bit.img.xz
2. Connect Your Storage#
Insert your microSD card into your computer’s card reader.
3. Identify the Block Device#
Run lsblk to list the block devices and locate your SD card path (e.g. /dev/sda or /dev/sdb):
sudo lsblk -o NAME,MOUNTPOINT4. Unmount Existing Partitions#
If the SD card partitions were auto-mounted, unmount them before proceeding:
sudo umount /dev/sdX15. Decompress the Firmware#
Extract the .img file from the compressed archive:
xz --decompress pwnagotchi-64bit.img.xz6. Write to Disk#
Use the dd command to write the image file to your SD card:
/dev/sdX with your actual SD card identifier). Targeting your host operating system drive will permanently wipe your machine.sudo dd if=pwnagotchi-64bit.img of=/dev/sdX status=progressBooting and Web Access#
Plug the flashed microSD card into the Raspberry Pi Zero 2 W and connect it to power. Once it boots, you can access the dashboard interface on port 8080 of the device’s IP address.
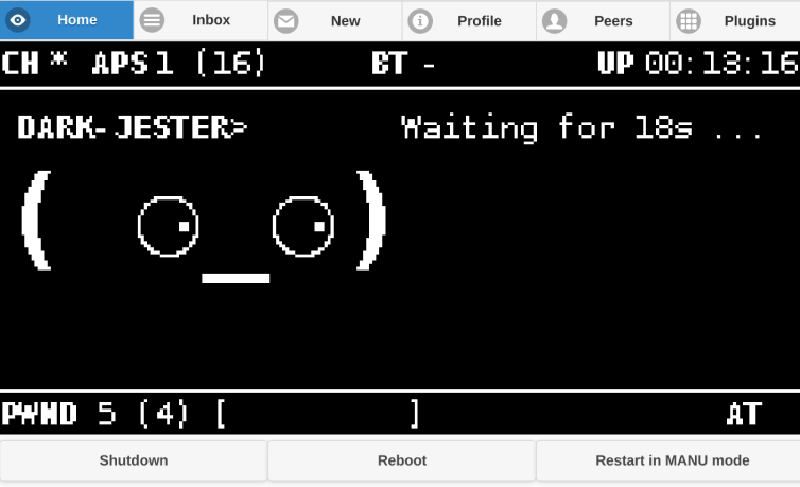
To find the IP address of your device, check your router’s DHCP client list, or run a quick scan on your subnet:
sudo arp-scan 192.168.1.0/24Now, go out and let your new companion sniff the air!
Dance like nobody is watching!
What’s your setup?#
Have you built a Pwnagotchi yet? Which software fork do you prefer, and what hardware case are you running? Share your build setups in the comments!